> For the complete documentation index, see [llms.txt](https://docs.getmesa.com/llms.txt). Markdown versions of documentation pages are available by appending `.md` to page URLs; this page is available as [Markdown](https://docs.getmesa.com/tools/api.md).
# API
The **API** tool allows you to connect MESA with internal services or any publicly-available API.
{% hint style="info" %}
If you’re looking to trigger your workflow from an API we recommend using a [Webhook](https://docs.getmesa.com/tools/webhook) if your API supports webhooks. Otherwise, you can use a [Schedule](https://docs.getmesa.com/tools/schedule) trigger and an API action in later steps.
{% endhint %}
### Authentication Methods
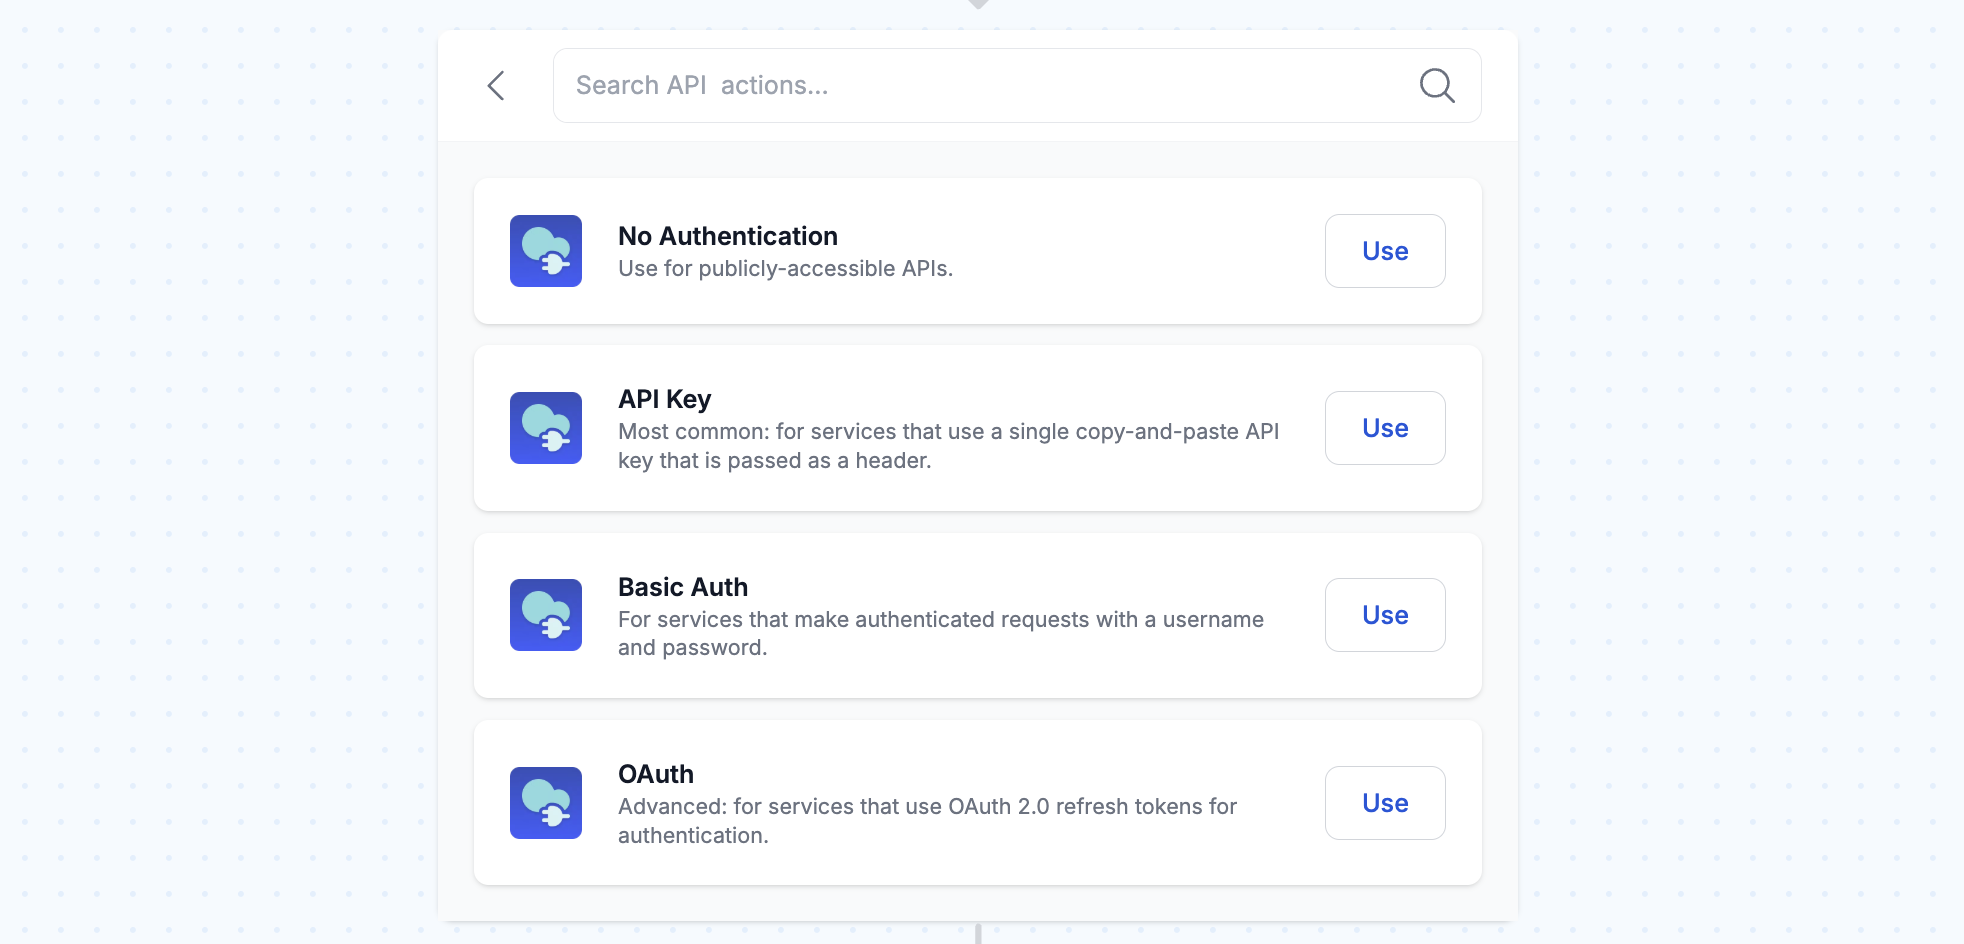
MESA offers [4 different built-in Actions](/workflow-builder/triggers.md) that you can utilize to connect to an API.
* [No Authentication](#no-auth)
* [API Key](#api-key)
* [OAuth 2.0](#oauth-2)
* [Basic Auth](#basic-auth)
#### No Authentication
Used for interacting with an API that does not require any authentication and provides public API access. To configure the **No Authentication** Action, please refer to the [Configuration information below.](#no-auth-example)
#### API Key
One of the most common ways to connect to an API.
**Key:** The name of your API key. Your service's API documentation will specify this.
**Value:** The value of your API Key that you get from the service's dashboard.
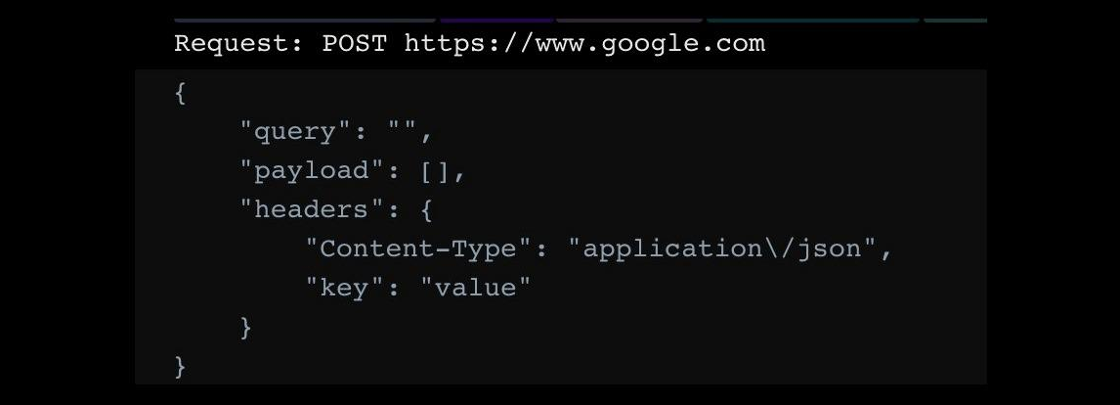
MESA will pass down the newly created connection as a key value pair in the header object. If the service expects the API key to be a query string parameter, use [API's No Authentication](#no-auth) step. Here is an example:
To configure the API Key Action, please refer to the [Configuration information below.](#configuring)
#### OAuth 2.0
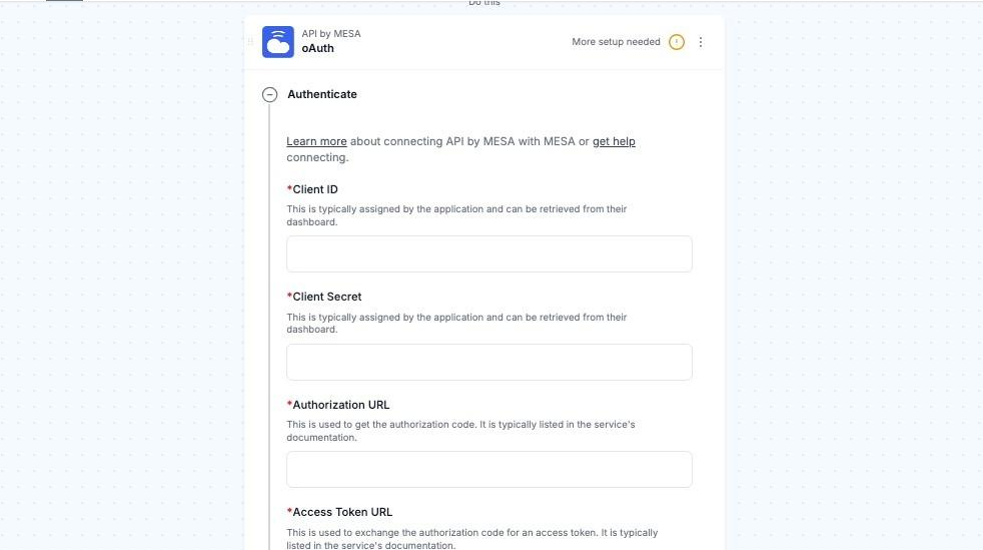
One of the most common ways to connect to an API but requires a more complex set-up. This requires creating an app in your service and entering the information into MESA to create a [connection](https://docs.getmesa.com/going-further/credentials). When creating an app in your service, you must use this URL as the callback URL:
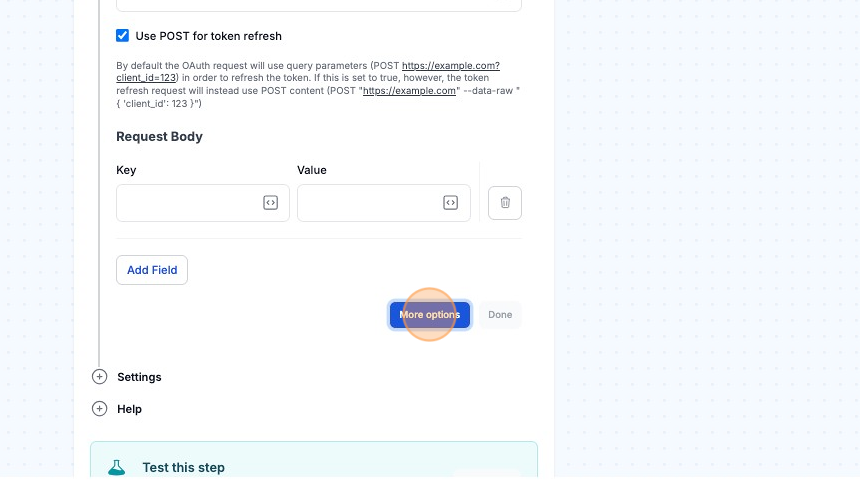
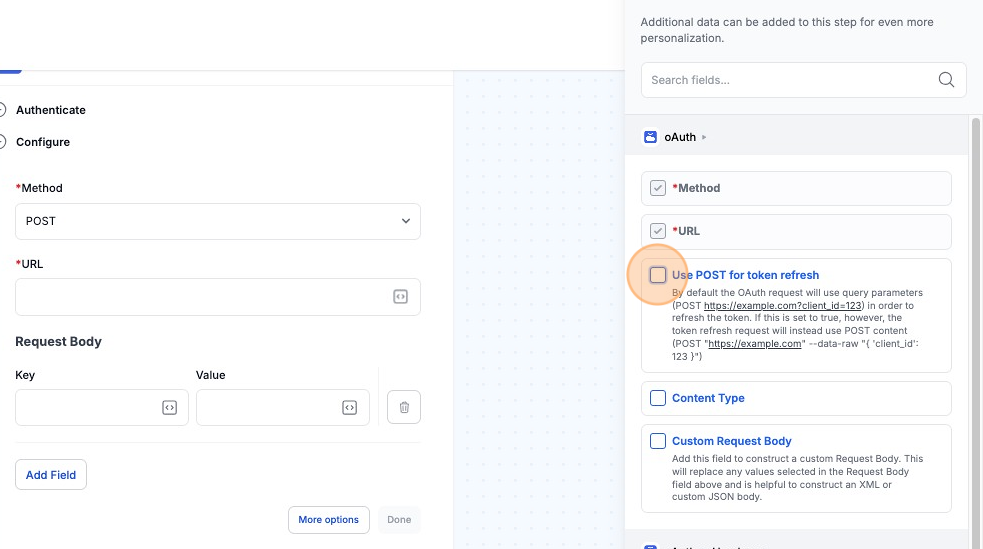
If your service requires MESA to make a POST request to refresh a token, you can use the Use POST for token refresh setting in the [More options](https://docs.getmesa.com/workflow-builder/fields).
By default, MESA will refresh tokens by using query parameters. If you mark the checkbox, MESA will use POST content to refresh the content.
#### Basic Auth
Basic Authentication is a simpler method of authentication that involves a username and password. For example, a Shopify private app. You will need to create a [Connection](/going-further/credentials.md).
## Configure
In the API actions, you will find the following fields:
**Method:** GET, POST, DELETE, PUT, PATCH (for a summary, read [this article](https://www.w3schools.com/tags/ref_httpmethods.asp))
**URL:** Endpoint of a service, for example, . If you are sending URL parameters, include these here. **Important:** Make sure to include "https\://" in the url.
### Advanced Settings (found via [More Options](https://docs.getmesa.com/workflow-builder/fields#additional-fields))
**Content Type:** Used to tell the client about the original [media type](https://developer.mozilla.org/en-US/docs/Glossary/MIME_type) of the resource
**Request Body:** Will contain the information that you want to send to the service - used by POST, PUT, PATCH, and DELETE requests
**Headers:** Lets the client & server pass additional information with an HTTP request or response, for example, authentication tokens or the format to return. More information can be found [here](https://developer.mozilla.org/en-US/docs/Web/HTTP/Headers).
**Querystring parameters:** A part of a uniform resource locator (URL) that assigns values to a specified parameter(s). `Example: https://example.com/over/there?name=ferret`
**Specify a custom Request Body:** This allows you to specify text or a variable for the request body. For instance, you could specify a variable that refers to data from a previous step. The text specified here will be sent as the Request Body instead of anything specified under the **Request Body** above.
## Going Further
### Examples
#### API: No Authentication
When a product is updated, we will make a POST request to the following endpoint:
Once a workflow runs and the request has been sent, httpbin will return the data (product title, product handle, and price) that we sent to the endpoint.
After updating a product and viewing the [Logs](/workflow-activity/logs.md), this was the Request:

This was the Response:

#### Use data obtained from an API
In this example, we will interact with [OpenWeatherMap's API](https://openweathermap.org/) and update a Shopify order's Notes with the current temperature of the customer's zip code once an order is created.
To utilize their API and obtain an API Key, you will need an [account](https://home.openweathermap.org/users/sign_up).
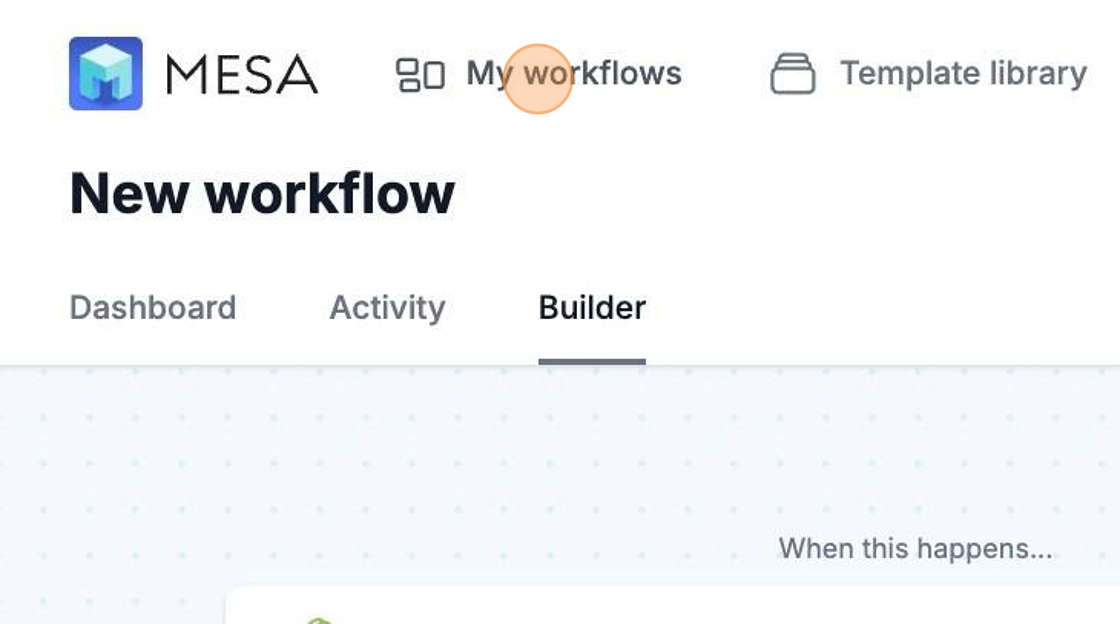
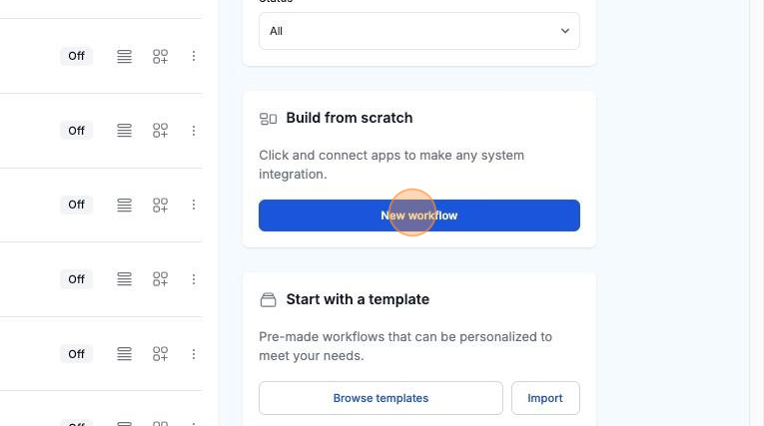
1\. You can start building your own workflows by clicking the New Workflow button on the right-hand side of the My workflows page.
2\. Select the Shopify Order Created trigger. Next, click on Add Step > Actions, search for "API", select the API tool, and then the [No Authentication](#no-auth) action.
3\. For the Method and URL, you will need to decide on your preferred endpoint. [Here is an example.](https://openweathermap.org/current)
4\. For the Querystring parameters, you will need to add the parameters (zip and appid).
* zip (Required): You can use [MESA Variables](/workflow-builder/fields/variables.md) to use the Shopify Order's zipcode and country code. For this example, the variable is (comma included): {{shopify\_order.shipping\_address.zip}}, {{shopify\_order.shipping\_address.country\_code}}
* appid (Required): Your unique API key, and you can find it on your account page under the [API key tab](https://home.openweathermap.org/api_keys).
* units: Optional parameter to specify the temperature units.
5\. Click on the **+** symbol below that step and select the Shopify Update Order Notes Action. This action will only add the preferred text and will not override any existing order notes on the order.
6\. In order to view the information sent by OpenWeatherMap, you will need to enable the [Logging, debug mode logging](/workflow-activity/logs.md), and test your workflow. To learn how to test your workflow, [click here](/workflow-builder/testing.md).
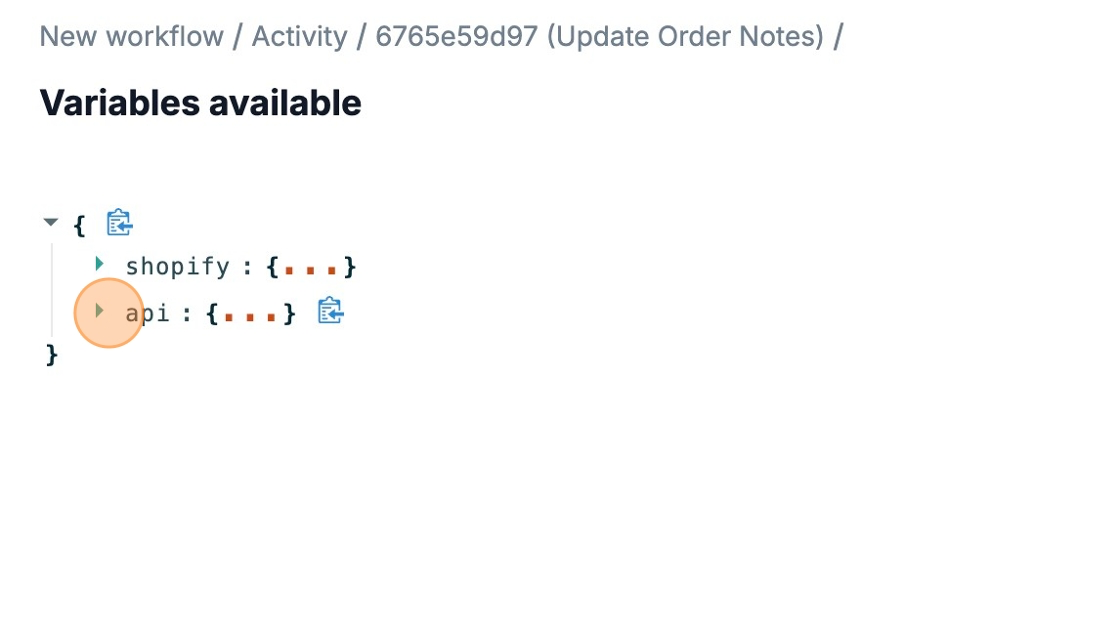
7\. After a test, you can view the Variables Available to view the response from OpenWeatherMap with the debug logging enabled.
8\. By viewing the Variables Available, you can figure out the variable to use for the later steps in the workflow.
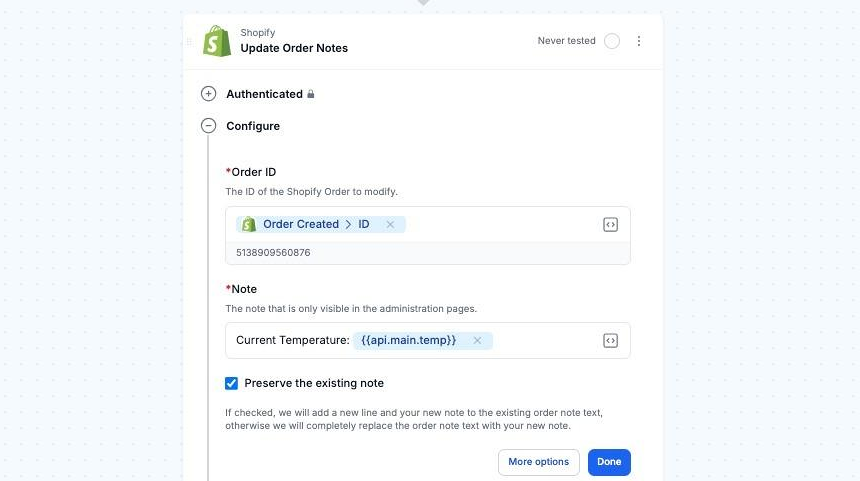
9\. In the Shopify Update Order Notes Action, fill out the following:
* **Shopify Order ID**: Select the Shopify Order Created ID [variable](https://docs.getmesa.com/workflow-builder/fields/variables).
* **Notes:** If you want to pass the current temperature data down in your workflow, you can use this variable: {{api.main.temp}}
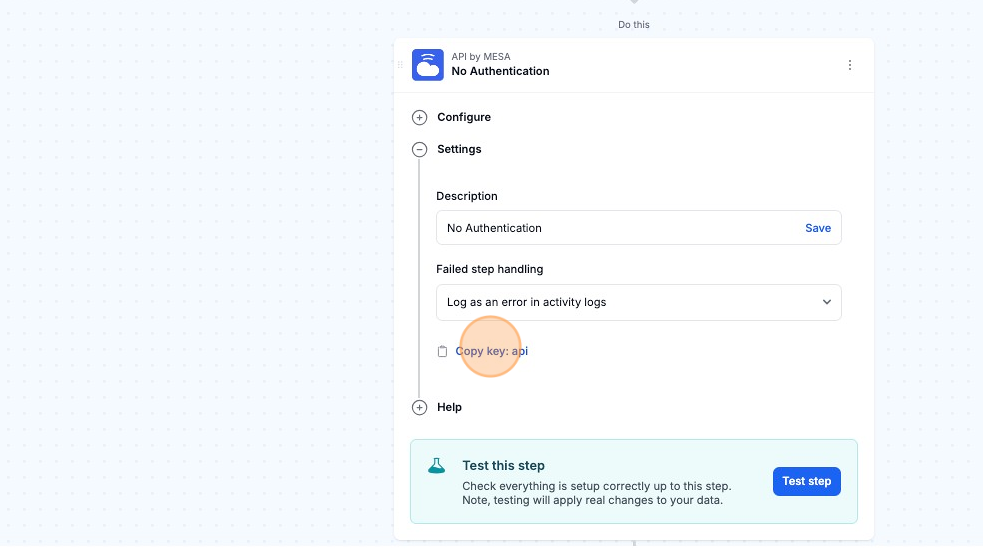
To create a custom variable, click on the plus sign icon next in Settings for that particular API step. Then, click on the Copy key.
In one of the fields, you can type `{{` and then paste the copied value. Next, you can manually type in the data that you'd like to send. End the variable with `}}`
An example of a custom variable is: `{{api.feels_like}}`
Here is an example of updating the order notes with the current temperature.
#### Send nested data to an API
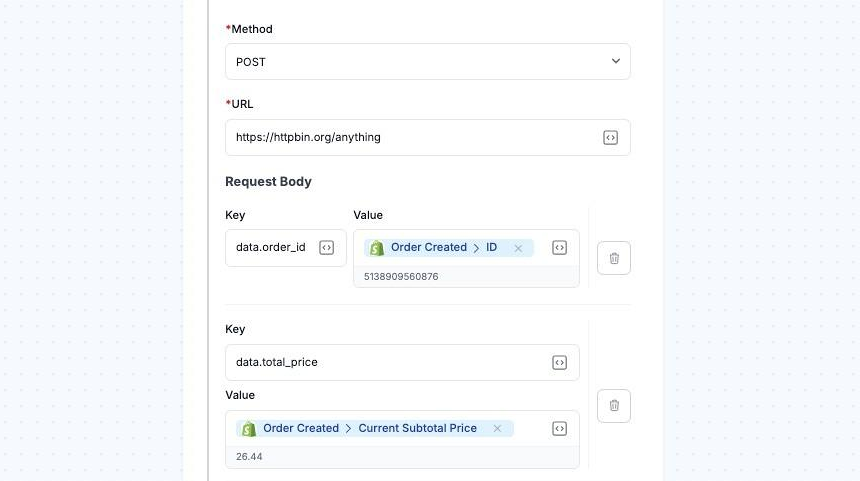
To send nested data to an API, you can use dot notation. Here is an example of a nested data structure, with the data nested under **data**:
```
{
"data": {
"order_id": "2975040733210",
"total_price": "403.00"
}
}
```
Here is how you would set this up in MESA.